Cricut 101: What Every Beginner Should Know Before Their First Cut
New to Cricut? Learn the basics before your first cut—machines, tools, setup, and beginner tips all in one easy guide.
CRICUT
6/2/20252 min read
So, you’ve just unboxed your Cricut—and you're staring at it with equal parts excitement and intimidation. Don’t worry, we’ve been there too! Whether you’re holding a Cricut Joy, Explore, or Maker in your hands, this guide is here to help you start your crafting journey with clarity, confidence, and just the right amount of creative courage.
Before you make that first cut (literally), here’s everything we wish someone had told us on day one.
1. Get to Know Your Cricut Machine
Not all Cricuts are created equal—each model has its own strengths:
Cricut Joy is perfect for small, quick projects like labels, decals, and cards.
Cricut Explore Air 2/3 is a solid all-rounder, great for vinyl, paper, and iron-on.
Cricut Maker/Maker 3 handles the same materials as Explore, plus thicker stuff like fabric, chipboard, and basswood.
💡 Tip: Your machine type is usually labeled right on the lid or front panel. If you're not sure what yours does, check the official Cricut comparison page or our deep-dive guide.
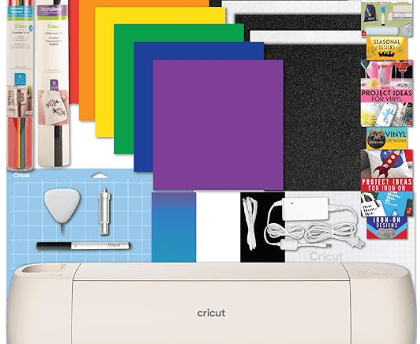
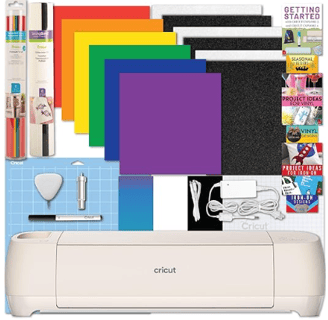
2. Gather Your Essential Tools and Materials
You don’t need everything right away—but here’s what we recommend starting with:
Must-Haves:
Cutting Mat (StandardGrip is a good all-purpose one)
Weeding Tools (for removing vinyl bits)
Scraper Tool (for applying transfer tape smoothly)
Transfer Tape (for moving vinyl designs to your surface)
Vinyl or Iron-On Material (start with adhesive vinyl—it’s beginner-friendly!)
Nice-to-Haves:
Brayer (for smoothing materials on the mat)
Extra Blades (because dull blades can ruin a project)
Good Lighting (helps with weeding small cuts)
✨ We’ve tested dozens of tools—check out our favorites in the Tag Designs Co Recommended Products.
3. Set Up Cricut Design Space (and Don’t Panic!)
Cricut Design Space is the software that tells your machine what to cut. It might look overwhelming at first, but you’ll get the hang of it quickly.
Here’s how to start:
Download & Install it from Cricut’s official site.
Create an Account or sign in.
Explore the Canvas—this is your workspace.
Try a Ready-to-Make Project or upload a free SVG.
🛠️ Tech tip: If your machine isn’t connecting via Bluetooth, try using a USB cable first—then update your firmware and restart.
4. What to Know Before Your First Cut
This is where most beginners trip up—so let’s keep you one step ahead.
✅ First Cut Checklist:
Use the correct material setting (check the dial or dropdown).
Always mirror your design if you're using iron-on (HTV).
Place your vinyl or iron-on shiny side down.
Do a test cut—seriously, this saves so much frustration.
Weed slowly, especially on small or intricate cuts.
🚫 Common Mistakes to Avoid:
Forgetting to mirror iron-on designs
Removing the mat too quickly (watch the preview first!)
Using the wrong grip mat (strong grip can ruin paper)
5. Give Yourself (and Your Projects) Grace
We’ll be honest—your first cut might not be perfect. And that’s okay.
Crafting is a journey, not a race. The goal isn’t perfection; it’s progress. Celebrate your small wins, learn from the flops (we’ve had many!), and keep creating from the heart.
You’re a maker now. Welcome to the club. 💛
Inspiration
Empowering crafters with tools and resources.
© 2025. All rights reserved.
Affiliate Disclosure
At TAG Designs Co, we believe in full transparency. Some of the links on this site are affiliate links, which means we may earn a small commission—at no extra cost to you—if you make a purchase through them. We only recommend products we genuinely use, love, and trust in our own crafting journey. These commissions help support the blog and allow us to keep sharing free tips, tutorials, and inspiration with our crafty community. 💛
Thanks for supporting what we do!